Distribute Your New Tokens
After obtaining your Genesis Passphrase and Adding Your Blockchain to ARKVault, it is time to distribute your new tokens to one or more recipients. The following information will explain how to:
Import a Genesis Wallet Into ARKVault
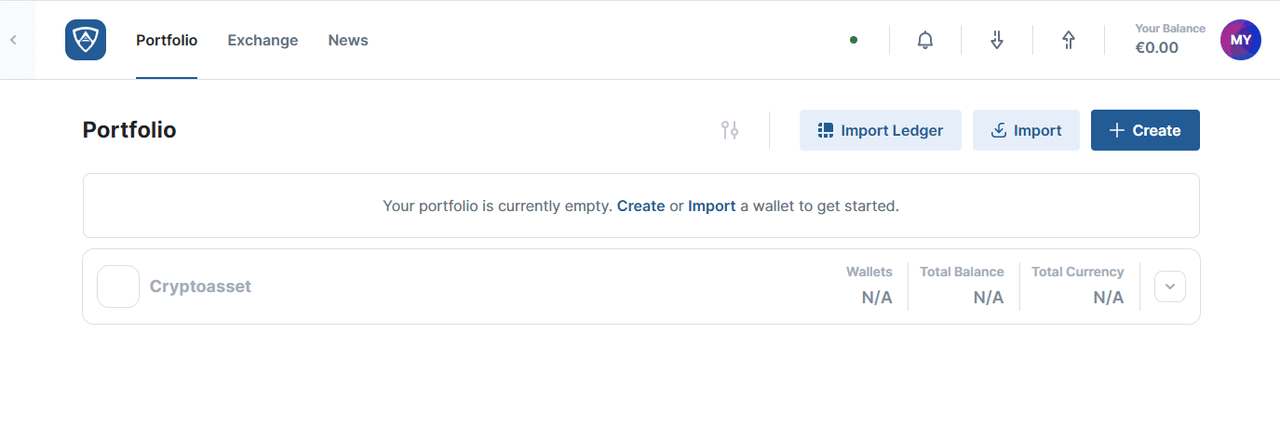
Having added your blockchain to ARKVault, it is now possible to interact with your Genesis wallet and transfer tokens to other wallets on the network. In order to do so, you will need to import your Gensis wallet into ARKVault. While viewing the Portfolio Dashboard, click the Import button that appears near the upper right corner of the page.
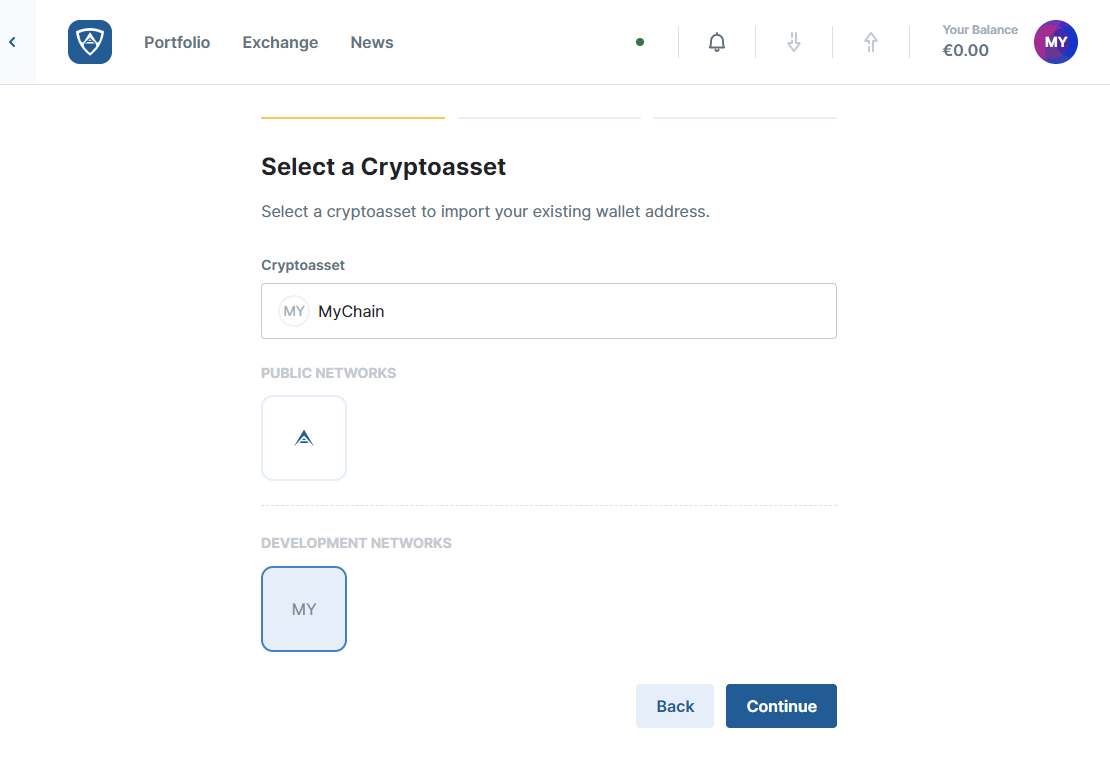
The Select a Cryptoasset page will appear, and here you will see your network. Upon selecting it, click the Continue button to proceed.
Help
Your network may appear under Public Networks if you selected Production when you launched your blockchain, or it may appear under Development Networks if you selected Development or Test when doing so.
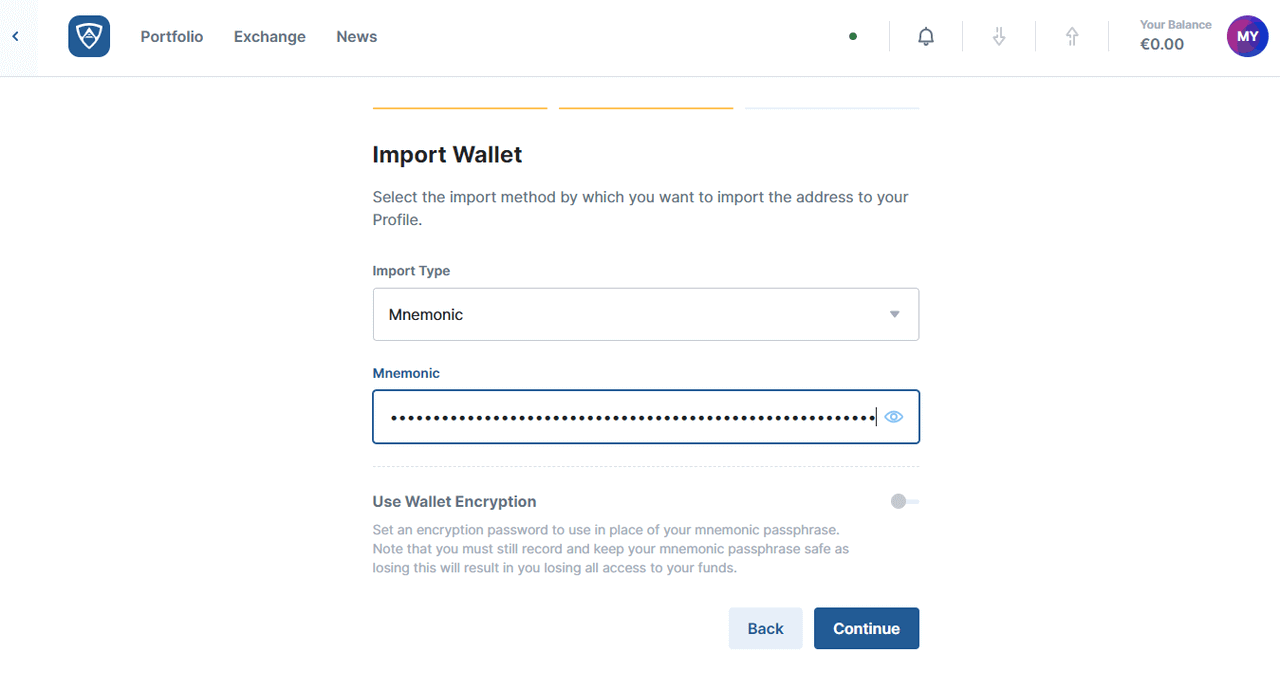
The Import Wallet page will appear. Here you will need to enter your Mnemonic, which is the 12 word passphrase you obtained from the genesis-wallet.json file. Upon entering your passphrase, click the Continue button to proceed.
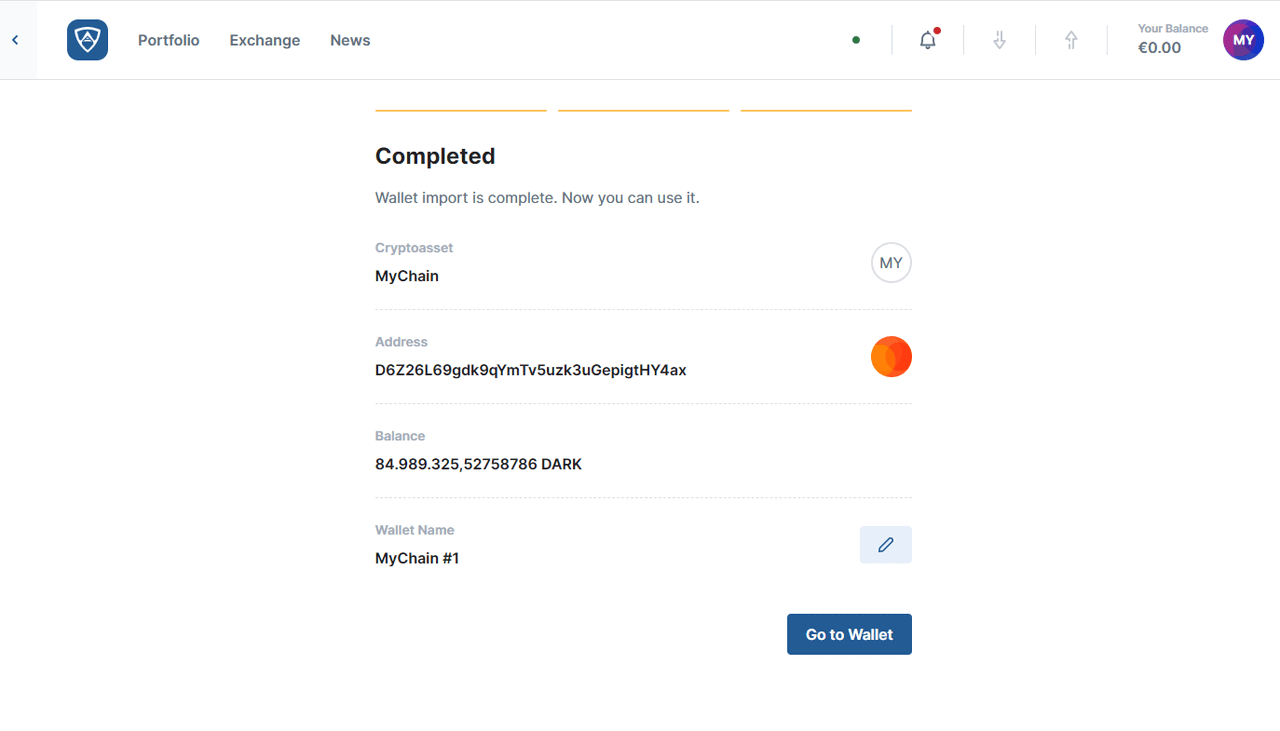
The Completed screen details your public address, balance and wallet name, the last of which you may edit by clicking the Edit button (pen icon) to the right of it. When ready, click the Go to Wallet button to begin using your wallet.
Success
Your Genesis Wallet is now available for use within ARKVault.
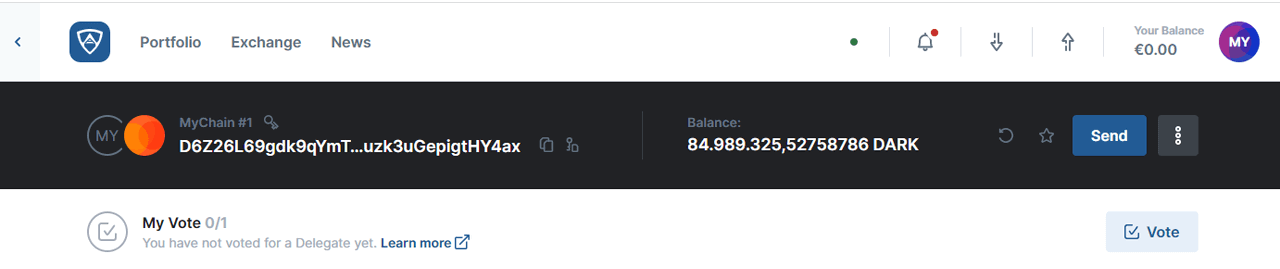
Send Tokens
While viewing your Genesis wallet, click the Send button that appears in the upper right portion of the screen.
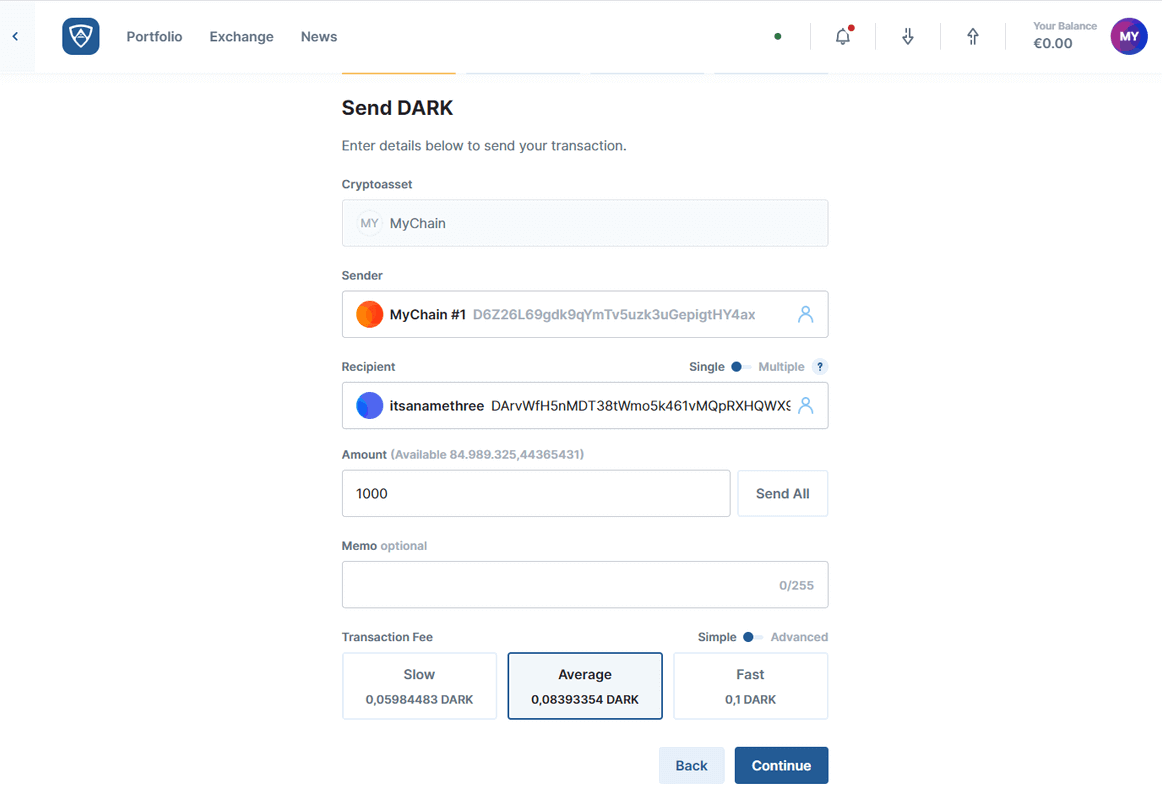
The Send screen will appear. You will notice the Cryptoasset and Sender fields contain the name of your network and your Genesis wallet’s public address. However, you will need to enter in the public address of the wallet to which you wish to transfer funds in the Recipent field as well as the number of tokens you wish to send in the Amount field. You may also include a short message in the Memo field if you so desire. You may select a Slow, Average or Fast transaction fee, but you may also switch to Advanced and enter a custom fee if you wish.
Help
If you wish to transfer tokens to multiple recipients, you will need to toggle the Single/Multiple switch to Multiple and add all the recipients and amounts you wish to transfer accordingly.
Upon filling in all the necessary details and adding your recipients, click the Continue button to proceed.
The Transaction Review screen allows you to review all of the information related to your token transfer transaction. If satisfied, click the Continue button to proceed.
![]()
The Authenticate screen will prompt you to enter your Genesis mnemonic into the field provided. When ready, click the Send button to finalize the transaction.

The Transaction Sent screen will appear informing you that your token transfer completed successfully.
![]()
Success
Having successfully distributed your first set of tokens, simply repeat the steps in this guide if you wish to distribute more in the future.